
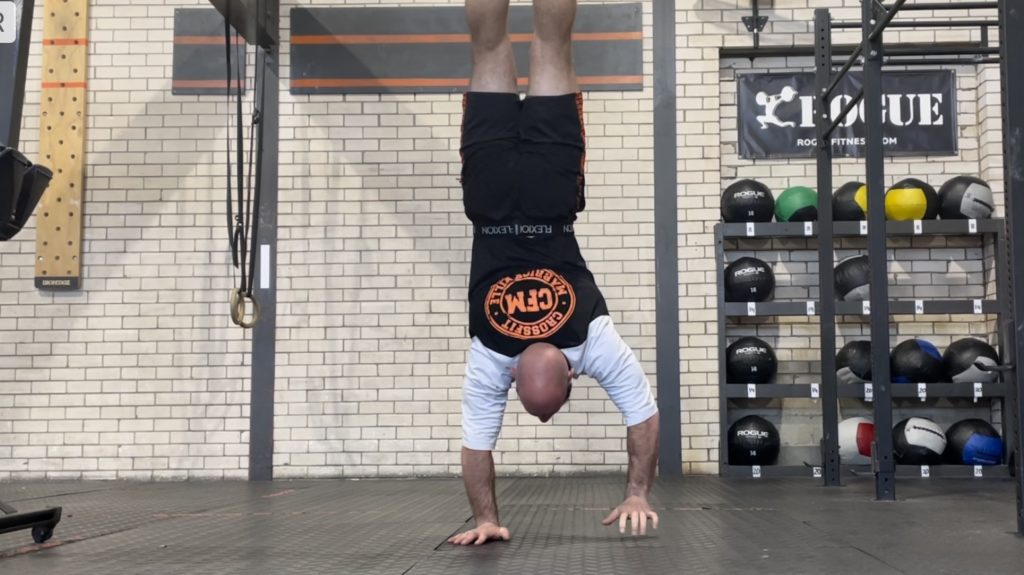
Handstand Walking Progressions
- Wall Climb
- Nose to Wall HS Hold
- Pike Shoulder Taps
- Back to Wall Shoulder Taps
- Plate Walks
- Cartwheel Dismount
- Tipping Point
- Walk Away
- Wall Climb
Aim to keep the arms straight throughout. Maintain a neutral or slight posterior pelvic tilt position, avoid lower back arching on the way up. Concentrate on the eccentric lowering phase, make sure not to just drop, keep control all the way to the floor.
- Nose to Wall HS Hold
This is different to a back to wall handstand hold and challenges those who like to arch in the lower back. Keep tight and this movement will naturally keep you in a stronger hollow body position and will allow you to support weight in your shoulders, and not on the wall.
- Pike Shoulder Taps
When doing a handstand walk you are constantly moving from one hand to the next. The pike shoulder taps allows you to practice this weight shifting. You are learning how to shift weight from one arm to the next while also maintaining strong shoulders and balance.
- Back to Wall Shoulder Taps
Similar to the above drill but now there is more weight in the shoulders making this a more challenging exercise.
- Plate Walks
Pretty much the same thing as shoulder taps, except you are demonstrating a higher level of control and precision. You are isolated on one hand for a much longer time which teaches you how to maintain body control while upside-down in a handstand position.
- Cartwheel Dismount
If you afraid of falling in handstand walks because you do not know how to exit this is a great drill to give you more confidence. Cartwheel off the wall from a wall-facing handstand. This is a great drill to practice the transition from having your feet in the air to getting them back to the floor. Besides building confidence, this dismount is more graceful and much safer than crashing down or rolling your way out of a successful handstand or handstand fail.
- Tipping Point
Many people struggle to find the tipping point. That is, the point where a controlled lean or “fall” can help propel you forward during the walk. It is the same thing you do when running on your feet.
- Walk Away
Start by kicking your feet off of the wall and allow yourself to be “pulled” forward by your body tipping past 90 degrees. Don’t over-reach your steps. Feel your balance slightly falling forward and then follow that by walking your hands forward to keep up.